All NFTs in One Place with Trust Wallet
Trust Wallet offers you an easy way to keep all your unique ERC721 and ERC1155 crypto NFTs and game assets in one place. Love your crypto NFTs? We love them too. Store them all in your Trust Wallet.

Where do I store NFTs?
Trust Wallet provides an easy way to store and access all your crypto collectibles with peace of mind and security. Crypto collectibles are secured on the blockchain and associated with a public address. Use Trust Wallet to store and view your NFT Collectables.

Creating a New Wallet
The steps for creating your first Multi-Coin Wallet is very simple and can be done in a matter of minutes. Let me guide you thru the process.
Important!
Download Trust Wallet only from official sources.
Here are the download links for both platforms:
App Store: https://apps.apple.com/app/trust-ethereum-wallet/id1288339409
Google Play: https://play.google.com/store/apps/details?id=com.wallet.crypto.trustapp
Step 1 – Launch Trust Wallet
Upon first launch of the app, you will be presented with the screen below which is the part where you can “Create a New Wallet” or “Import” an existing one. For this guide, we will select on Create a New Wallet.

Step 2 – Accept Terms of Usage
In order to proceed, you would need to accept the Terms of Usage. Simply put a check mark at the box then press on Continue. No turning back now.
Warning!
If you agree to to the terms of usage please be aware that, losing your recovery phrases will also mean that you lose access to your wallet.
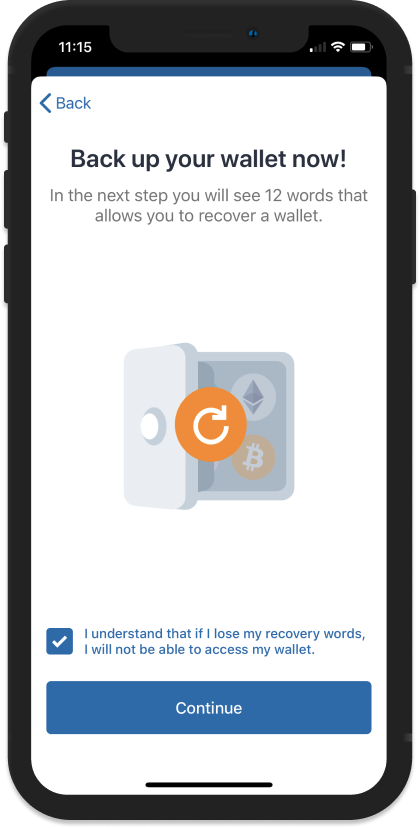
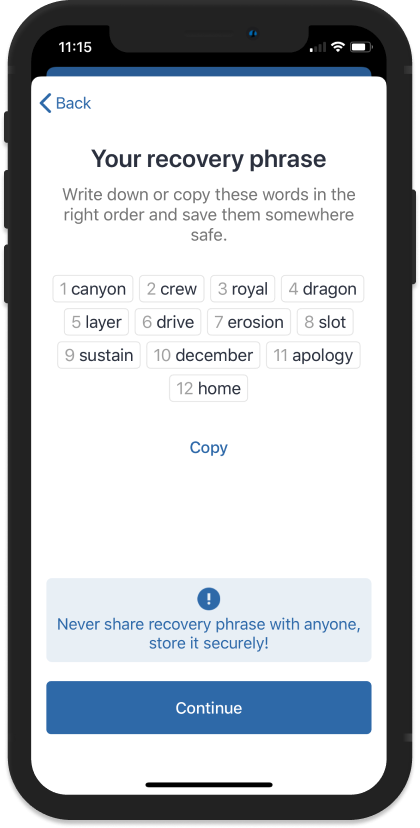
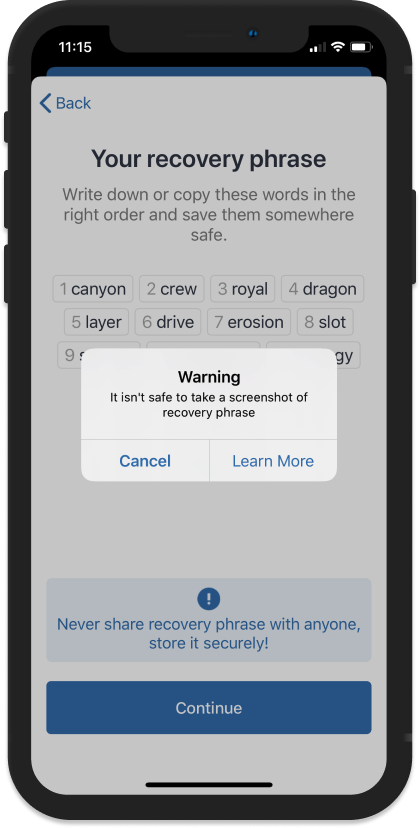
Step 3 – Save your Recovery Phrase
This is the most important part of your crypto journey. You need to take note of your recovery seed phrases. Your recovery phrases are the keys to your crypto wallet. So make sure to keep them in a safe place. Tap on Continue to proceed.
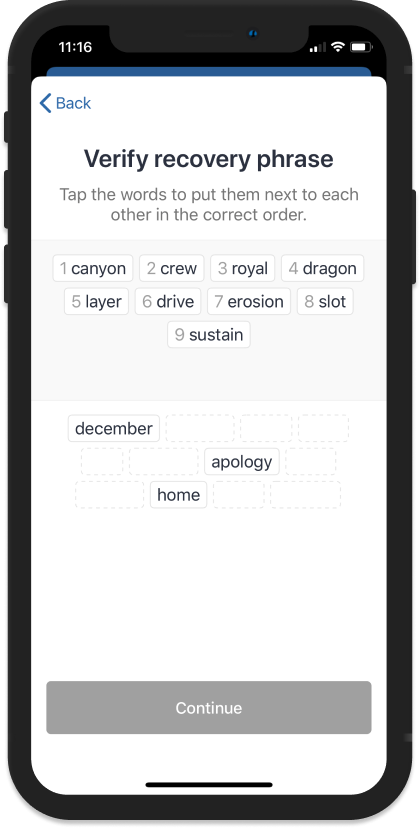
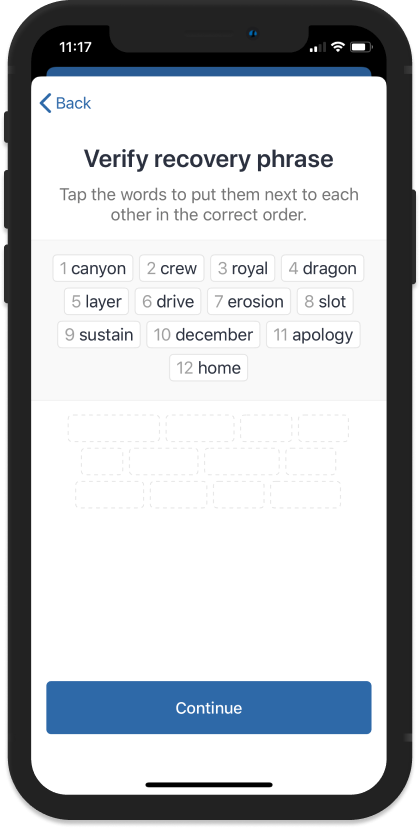
Step 4 – Verify your Recovery Phrase
If you followed Step 3 and backed up your recovery phrase, this will be a breeze.
In the correct order, select the words in order to complete the verification process. Click Continue when you are finished.
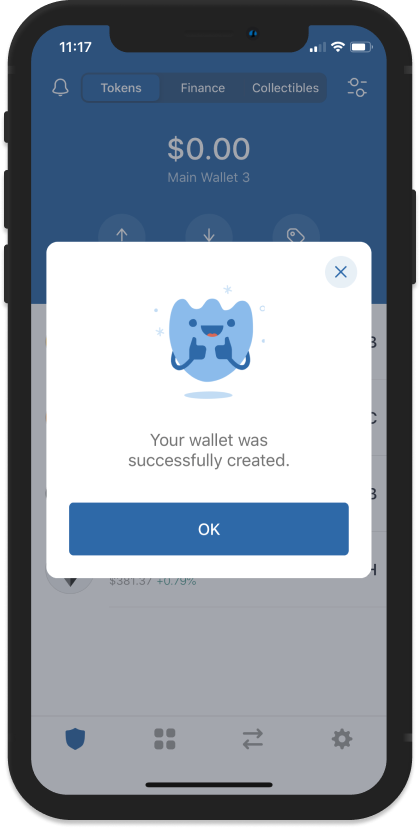
Step 5 – Wallet is Ready
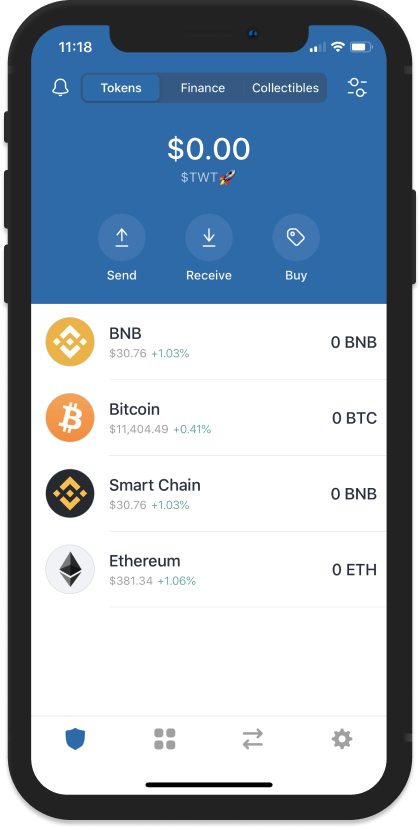
After going thru the backup and verification process you will be redirected to the main wallet screen. You will see an initial list of coins that you can start funding right away. Congratulations!

Personalize Your Wallet
You can set the name of your wallet so that you can easily recognize it. This change is only a local setting on the app and can be changed at any time.
Go to the Settings menu, then tap on Wallets.

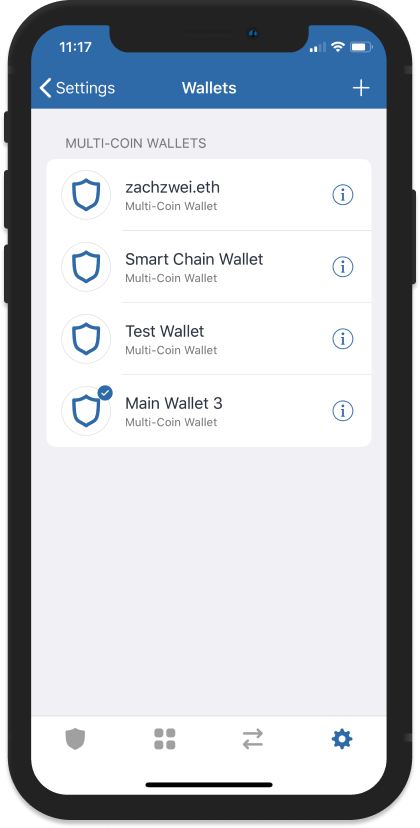
Next, tap on the i symbol beside the wallet that you want to personalize. Save it and you are done.
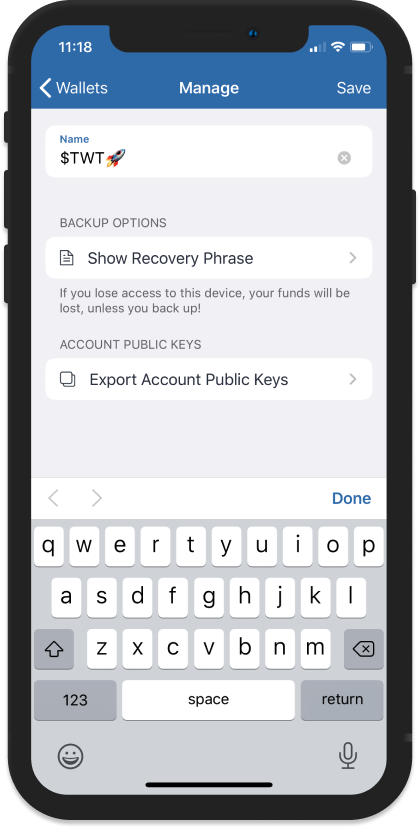
Note:
Also on the same screen, you will see Show Recovery Phrase. You can always go back here if you want to get your recovery phrases
Buying Crypto with your Credit Card
Before you proceed, please be aware of the following:
- The app does not sell any crypto, you will be redirected to a 3rd party provider.
- The minimum transaction is $50 , and the maximum is $2,000 . These limits are set by the provider.
- The Trust Wallet app does not collect any fees. The provider charges a conversion and network fee.
- The availability of the crypto you can purchase is based on your location. The provider only operates in certain countries.
- If you have any concerns with your purchase, please reach out to the crypto provider. You can find more information here: List of Cryptocurrency Providers
Step 1 – Access the Buy Menu
Open up your wallet and select the crypto that you want to Buy.
Tap on Buy button on the upper right corner.

Step 2 – Indicate Purchase Amount
Indicate the amount in USD and the provider will give a quote on how much crypto you will receive.
The team has implemented a new feature that allows you to choose a different provider. Tap on 3rd party provider to see if there is a different provider available.
Note:
The best rate will be shown by default.
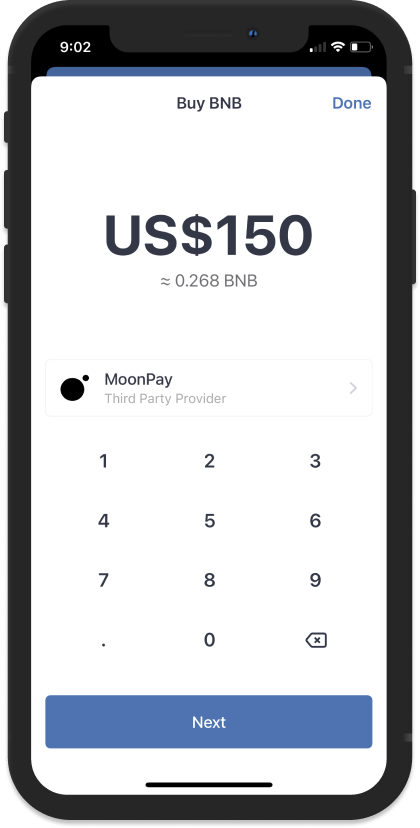

Tap on Next to proceed.
Step 3 – User Verification
Depending on the crypto provider, user verification will be required before making a purchase. You will be redirected to their website in order to complete this process.
Note:
Trust Wallet does not save any user information.


Once purchase is confirmed, you will receive an email from the crypto provider. The crypto will be sent out as soon as possible.
USE the BUILT IN DAPP BROWSER to purchase an nft
Trust DApp Browser
- Fully functioning Web3 browser that can be used to interact with any decentralized application (DApp)
- Meticulously crafted tool that provides a seamless, simple and secure connection between you and any decentralized application (DApp) on Binance Smart Chain, or the Ethereum network
- Integrated interface that is fully optimized for mobile so you can enjoy the content designed specifically for your device

HOW TO ENABLE DAPP BROWSER ON TRUST WALLET(IOS VERSION)
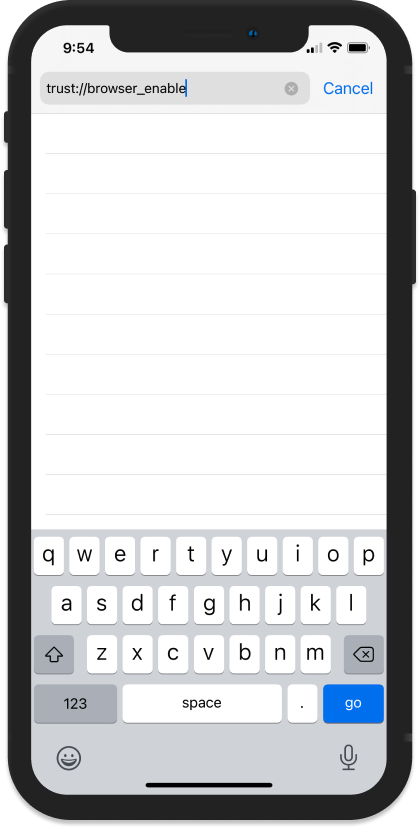
Step 1
Open Safari Browser and then type in the URL: trust://browser_enable, then tap on Go.
Step 2
A prompt will appear that will ask if you want to Open this page in “Trust”?, tap on Open.
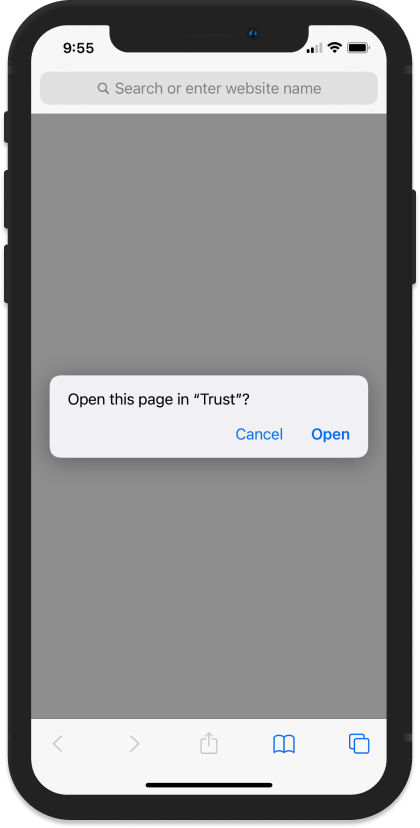
Note:
Make sure that there is no open tabs on your Safari browser when you type the URL in order to see this screen.
Step 3
The Trust Wallet app will launch and the DApp browser will be enabled.

